How to Trim a Flared Horse Hoof: A Comprehensive Guide
A flared horse hoof can cause discomfort, instability, and long-term health issues if not properly managed. Recognizing and correcting hoof flares through regular trimming and maintenance is essential for keeping your horse comfortable and sound.
This guide will walk you through how to identify, assess, and trim a flared horse hoof effectively using the Hoof Boss Electric Trimmer for a safe and precise trim.
What Is a Flared Hoof?
A flared hoof occurs when the hoof wall grows outward irregularly, often due to uneven weight distribution, lack of trimming, or improper care. This results in:
✔ Bulging on the outer hoof wall
✔ Uneven wear from poor trimming
✔ Increased hoof sensitivity or lameness
If left untreated, flared hooves can weaken the hoof structure, making it prone to cracks and further damage.
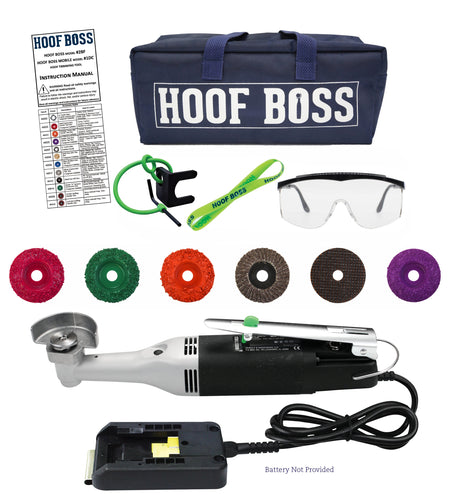
Tools You’ll Need for Trimming
Using the right tools ensures a safe, efficient, and precise trimming process. Here’s what you’ll need:
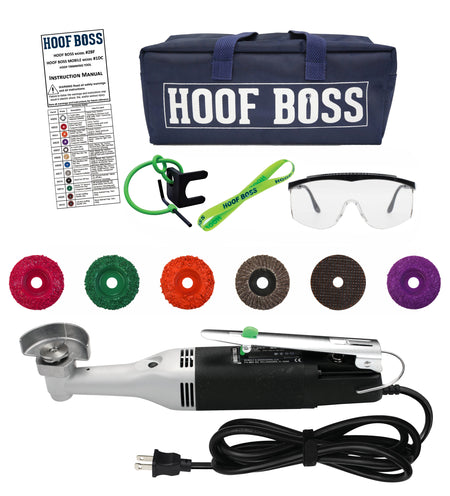
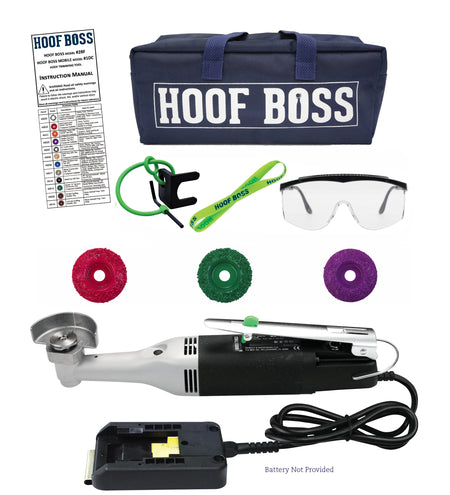
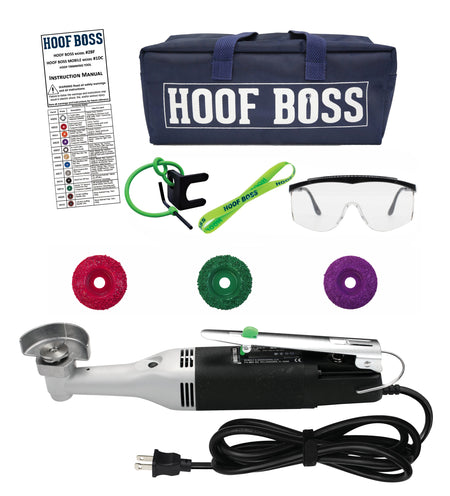
✅ Hoof Boss Electric Trimmer – Designed for effortless, controlled trimming.
✅ Hoof Pick – Clears dirt and debris before trimming.
✅ Quality Hoof Knives – Helps refine the hoof shape when needed.
✅ Hoof Rasp – Smooths and balances the hoof after trimming.
🔹 Why Use Hoof Boss? The Hoof Boss Electric Trimmer makes trimming easier by reducing strain, allowing for gradual correction, and ensuring a smoother, more even trim.
Step-by-Step Guide to Trimming a Flared Horse Hoof
Step 1: Assess the Hoof
Before trimming, inspect the hoof to determine the severity of the flare. Look for:
- Degree of outward growth
- Cracks or signs of infection
- Weight distribution and hoof balance
Step 2: Clean the Hoof
- Use a hoof pick to remove dirt, stones, and debris.
- Ensure the hoof is completely dry before trimming.
Step 3: Prepare Your Tools
- Make sure the Hoof Boss Electric Trimmer is fully charged or plugged in.
- Select the appropriate grit disc based on the severity of the flare.
Step 4: Trim the Hoof Wall
- Start at the toe and work toward the heel.
- Gradually remove overgrown areas using the Hoof Boss.
- Follow the hoof’s natural shape to avoid excessive trimming.
🔹 Tip: Trim in layers, making small adjustments to maintain proper balance.
Step 5: Address the Flare
- Focus on reducing the height of the flared section.
- Use a medium-grit disc for gradual shaping.
- Ensure the hoof remains structurally balanced while trimming.
🔹 Tip: Avoid cutting too deep or too fast—it’s better to trim gradually over multiple sessions if needed.
Step 6: Smooth & Finalize the Trim
- Use a fine-grit disc or hoof rasp to smooth out rough edges.
- Check for hoof symmetry and even weight distribution.
🔹 Final Check: The hoof should look balanced and natural, with no excessive flare or weak areas.
Post-Trimming Care & Maintenance
Monitor the Hooves Regularly
- Schedule routine trims every 6-8 weeks to prevent flare recurrence.
- Keep your horse’s hooves clean and dry to avoid bacterial infections.
Encourage Healthy Hoof Growth
- Balanced nutrition supports strong hoof structure and reduces excessive growth.
- Regular exercise on varied terrain helps promote natural hoof wear.
Why Choose Hoof Boss for Hoof Trimming?
✅ Easy to Use – Designed for horse owners of all experience levels.
✅ Precision Trimming – Gradual material removal prevents over-trimming.
✅ Saves Time & Effort – Reduces the physical strain of manual hoof trimming.
Conclusion
Learning how to trim a flared horse hoof is a valuable skill that helps maintain your horse’s soundness and comfort. By using the right techniques and tools, like the Hoof Boss Electric Trimmer, you can ensure your horse’s hooves stay balanced, healthy, and free from painful flare-related issues.
✅ Ready to simplify your hoof trimming routine? Invest in Hoof Boss today and make hoof care faster, easier, and more effective!